Contributor Guide

By Editorial team

GitHub Repo

The Datapoints blog is built on GitHub, providing a collaborative platform for our team to create and share data science insights. This guide will walk you through our repository structure, development workflow, and help you set up your local environment for contributing to the blog.

Whether you’re writing your first post or maintaining existing content, understanding our GitHub workflow will help ensure a smooth contribution process. Let’s get started!
GitHub Repository

Project Structure

DDDI_DP_Blog/
├── _layouts/           # Universal HTML layouts for the blog
├── _posts/            # Blog post content in Markdown
│   └── YYYY-MM-DD-FirstName-LastName.md
├── assets/            # Static assets
│   ├── css/          # Universal CSS files
│   ├── images/       # Global images
│   └── post_assets/  # Post-specific assets
│       └── YYYY-MM-DD-FirstName-LastName/  # Matches .md filename
└── README.md

Directory Details

_layouts/

Contains universal HTML layouts used across the blog. These templates define the structure and appearance of different page types.

_posts/

Stores all blog post content in Markdown format.

  • Naming convention: YYYY-MM-DD-FirstName-LastName.md
  • Example: 2025-01-27-Yuxin-Liang.md
assets/

Static assets organized in three main categories:

  • css/: Universal CSS files applied across the site
  • images/: Global images used throughout the blog
  • post_assets/: Post-specific assets
    • Each post should have its own directory matching the .md filename
    • Example: If your post is 2025-01-27-Yuxin-Liang.md, create assets/post_assets/2025-01-27-Yuxin-Liang/
    • Store all post-specific settings, images, and other assets in this folder

Working with Branches

Branch Structure

  • main: Production-ready code, final destination for completed posts
  • firstname-lastname-staging: Personal development branch for each author

Workflow

  1. Create Your Branch

    # Create and switch to your personal staging branch
    git checkout -b yuxin-liang-staging
    
  2. Development Process

    • Make all your changes in your personal staging branch
    • Test locally using Jekyll server
    • Commit changes frequently with clear messages
  3. Push to Your Branch

    git push origin yuxin-liang-staging
    
  4. Final Review

    • Ensure all content is complete
    • Test all interactive elements
    • Verify formatting across devices
  5. Merge to Main

    • Only merge to main when post is complete
    • Create pull request from your branch to main
    • Request review if needed

Setting Up Local Environment

Prerequisites

  1. Install Ruby
    • For Windows:
      • Download and install Ruby from RubyInstaller
      • Verify installation: ruby -v
    • For macOS:
      • Ruby comes pre-installed, but it’s recommended to use a version manager
      • Install Homebrew if not already installed:
        /bin/bash -c "$(curl -fsSL https://raw.githubusercontent.com/Homebrew/install/HEAD/install.sh)"
        
      • Install rbenv:
        brew install rbenv
        rbenv init
        
      • Install Ruby:
        rbenv install 3.2.0
        rbenv global 3.2.0
        
      • Verify installation: ruby -v
  2. Install Jekyll and Bundler
    gem install jekyll bundler
    

Getting Started

  1. Clone the Repository
    git clone https://github.com/dddiscovery/datapoints.git
    cd datapoints
    
  2. Install Dependencies
    bundle install
    
  3. Start Local Server
    bundle exec jekyll serve
    

Common Issues

  • Permission Errors During Installation
    • Try installing gems with the --user-install flag
    • Check directory permissions for your gem folder
  • Bundle Install Failures
    • Run bundle update first
    • Clean and reinstall dependencies
    • Check for conflicting gem versions
  • Ruby Version Conflicts
    • Ensure Ruby version matches requirements (3.2.0 recommended)
    • Use version managers (rbenv/RVM) to switch Ruby versions
    • Check Jekyll compatibility with your Ruby version
  • Port Already in Use
    • Check for other running Jekyll instances
    • Try different port number
    • Restart your terminal
  • Missing Dependencies
    • Install required system libraries
    • Check Gemfile for missing entries
    • Verify development headers are installed

Preview Across Devices (Using ngrok)

ngrok allows you to access your local development site from any device, regardless of network.

  1. Start Jekyll Server with Host Settings
    cd datapoints    # Navigate to your project directory
    bundle exec jekyll serve --host=0.0.0.0 --baseurl=""
    

    Keep this terminal window open!

  2. Start ngrok in New Terminal
    ngrok http 4000
    

    Keep this terminal window open too!

  3. Get the Public URL
    • Look for the ‘Forwarding’ line in ngrok output
    • Use the https:// URL (example: https://xxxx-xxxx.ngrok-free.app)
  4. Access on Other Devices
    • Open the ngrok URL on any device
    • Site will be accessible regardless of network
    • Great for testing responsive design
    • Share URL with collaborators for quick previews

Notes

  • ngrok URLs are temporary and change each session
  • Free tier has some limitations
  • For security, only share URLs with trusted collaborators

GitHub Pages Deployment

Build Process

After completing all content and styling, pushing changes to the main branch triggers an automated build process.

  1. GitHub Action
    • A GitHub Action called “Deploy Jekyll Site” is triggered
    • You can monitor the build at: https://github.com/dddiscovery/datapoints/actions
  2. Build Time
    • The build process takes a few minutes to complete
    • You can track progress in the Actions tab
    • A green checkmark ✅ indicates successful deployment
  3. Deployment
    • The built site is automatically pushed to the gh-pages branch
    • Once deployed, your changes will be live at: https://dddiscovery.github.io/datapoints

Troubleshooting

  • If the build fails (red ❌), check the Actions tab for error details
  • Common issues include:
    • Invalid front matter in posts
    • Missing required files
    • Incorrect file paths
    • Build timeout or resource limits exceeded
    • CSS or JavaScript not loading properly

Important Notes

  • Only changes pushed to main trigger the build process
  • The build configuration lives in .github/workflows/pages.yml
  • Wait for the green checkmark before checking your changes on the live site

Ready, Set, Blog!

  1. Create a new branch for your post
    • Branch naming convention: post/YYYY-MM-DD-FirstName-LastName
    • Example: post/2025-01-27-Yuxin-Liang
  2. Create your blog post in _posts/ following the naming convention
    • Create a new .md file named YYYY-MM-DD-FirstName-LastName.md
    • Use the template in 2025-01-22-post-temp.md as a starting point
    • Write your blog content in Markdown format
  3. Create a matching directory in assets/post_assets/ for your specific assets
    • Directory should match your .md filename: assets/post_assets/YYYY-MM-DD-FirstName-LastName/
    • Place all post-specific content (images, CSS, scripts) in this directory
  4. Work on your staging branch
    • Make all changes and test locally (follow the local development setup below)
    • Commit your changes regularly with descriptive messages
  5. Review and publish
    • Request a review when your post is ready
    • After approval, merge your branch into main

Git Resources

Lost in the land of commits and how git works 🤯? Here’s your survival guide to version control.

Resource Description
GitHub Docs The official GitHub documentation - comprehensive, clear, and constantly updated.
Pro Git Book Free book covering everything from Git basics to advanced usage.
Atlassian Git Tutorials Covers Git workflows, branching, rebasing, and best practices.

Blog Inspirations

The Datapoints blog aims to make data science accessible, engaging, and visually compelling. We’ve curated a collection of resources that inspire our creative approach to data storytelling and visualization. These exemplary works showcase how complex ideas can be communicated clearly and beautifully.

Whether you’re looking for visualization ideas, narrative techniques, or interactive elements, these resources will help elevate your blog posts from informative to unforgettable. Let’s explore what makes great data stories!

We’d love to hear about any inspiring resource that could benefit our community! Share your findings with us, and let’s grow our collection of inspirational resources together.
GitHub Repository

Creative VIsualization

Cool examples of how to turn data and complex ideas into engaging visuals and stories. These sites show how to make your research pop with creative, interactive elements.

Resource Description
VISxAI A workshop showcasing creative ways to explain AI through interactive visualizations.
The Pudding Visual essays that turn data into delightful stories.
Seeing Theory A stunning visual journey through statistics and probability.

Scientific Journals

Science with style - research that reads like a page-turner. A collection of blogs and publications that nail the sweet spot between rigorous research and engaging storytelling. Because let’s face it - most academic papers are a cure for insomnia!

Resource Description
Distill A pioneer in interactive ML explanations.
PAIR Explorables Google’s collection of interactive essays that make ML concepts tangible.
Quanta Magazine A blog series explores cutting-edge science and mathematics through in-depth, accessible journalism.

Artwork Credits

The blog features artwork from the public domain for both title images and other visual elements throughout the site:

Title Images

  • “Flecks of Foam”
    • Artist: Henry Golden Dearth
    • Accession Number: 1963.10.120
    • Source: Chester Dale Collection
    • Status: Public Domain
  • “Cannon Rock”
    • Artist: Winslow Homer
    • Accession Number: 06.1281
    • Source: The Metropolitan Museum of Art
    • Status: Public Domain

Other Images

  • “London Bridge”
    • Artist: André Derain
    • Accession Number: 195.1952
    • Source: Museum of Modern Art (MoMA)
    • Status: Public Domain
  • “The Bathing Hour, Chester, Nova Scotia”
    • Artist: William James Glackens
    • Accession Number: BF149
    • Source: Barnes Collection
    • Status: Public Domain
  • “Jockeys and Race Horses”
    • Artist: Edgar Degas
    • Accession Number: BF572
    • Source: Barnes Collection
    • Status: Public Domain
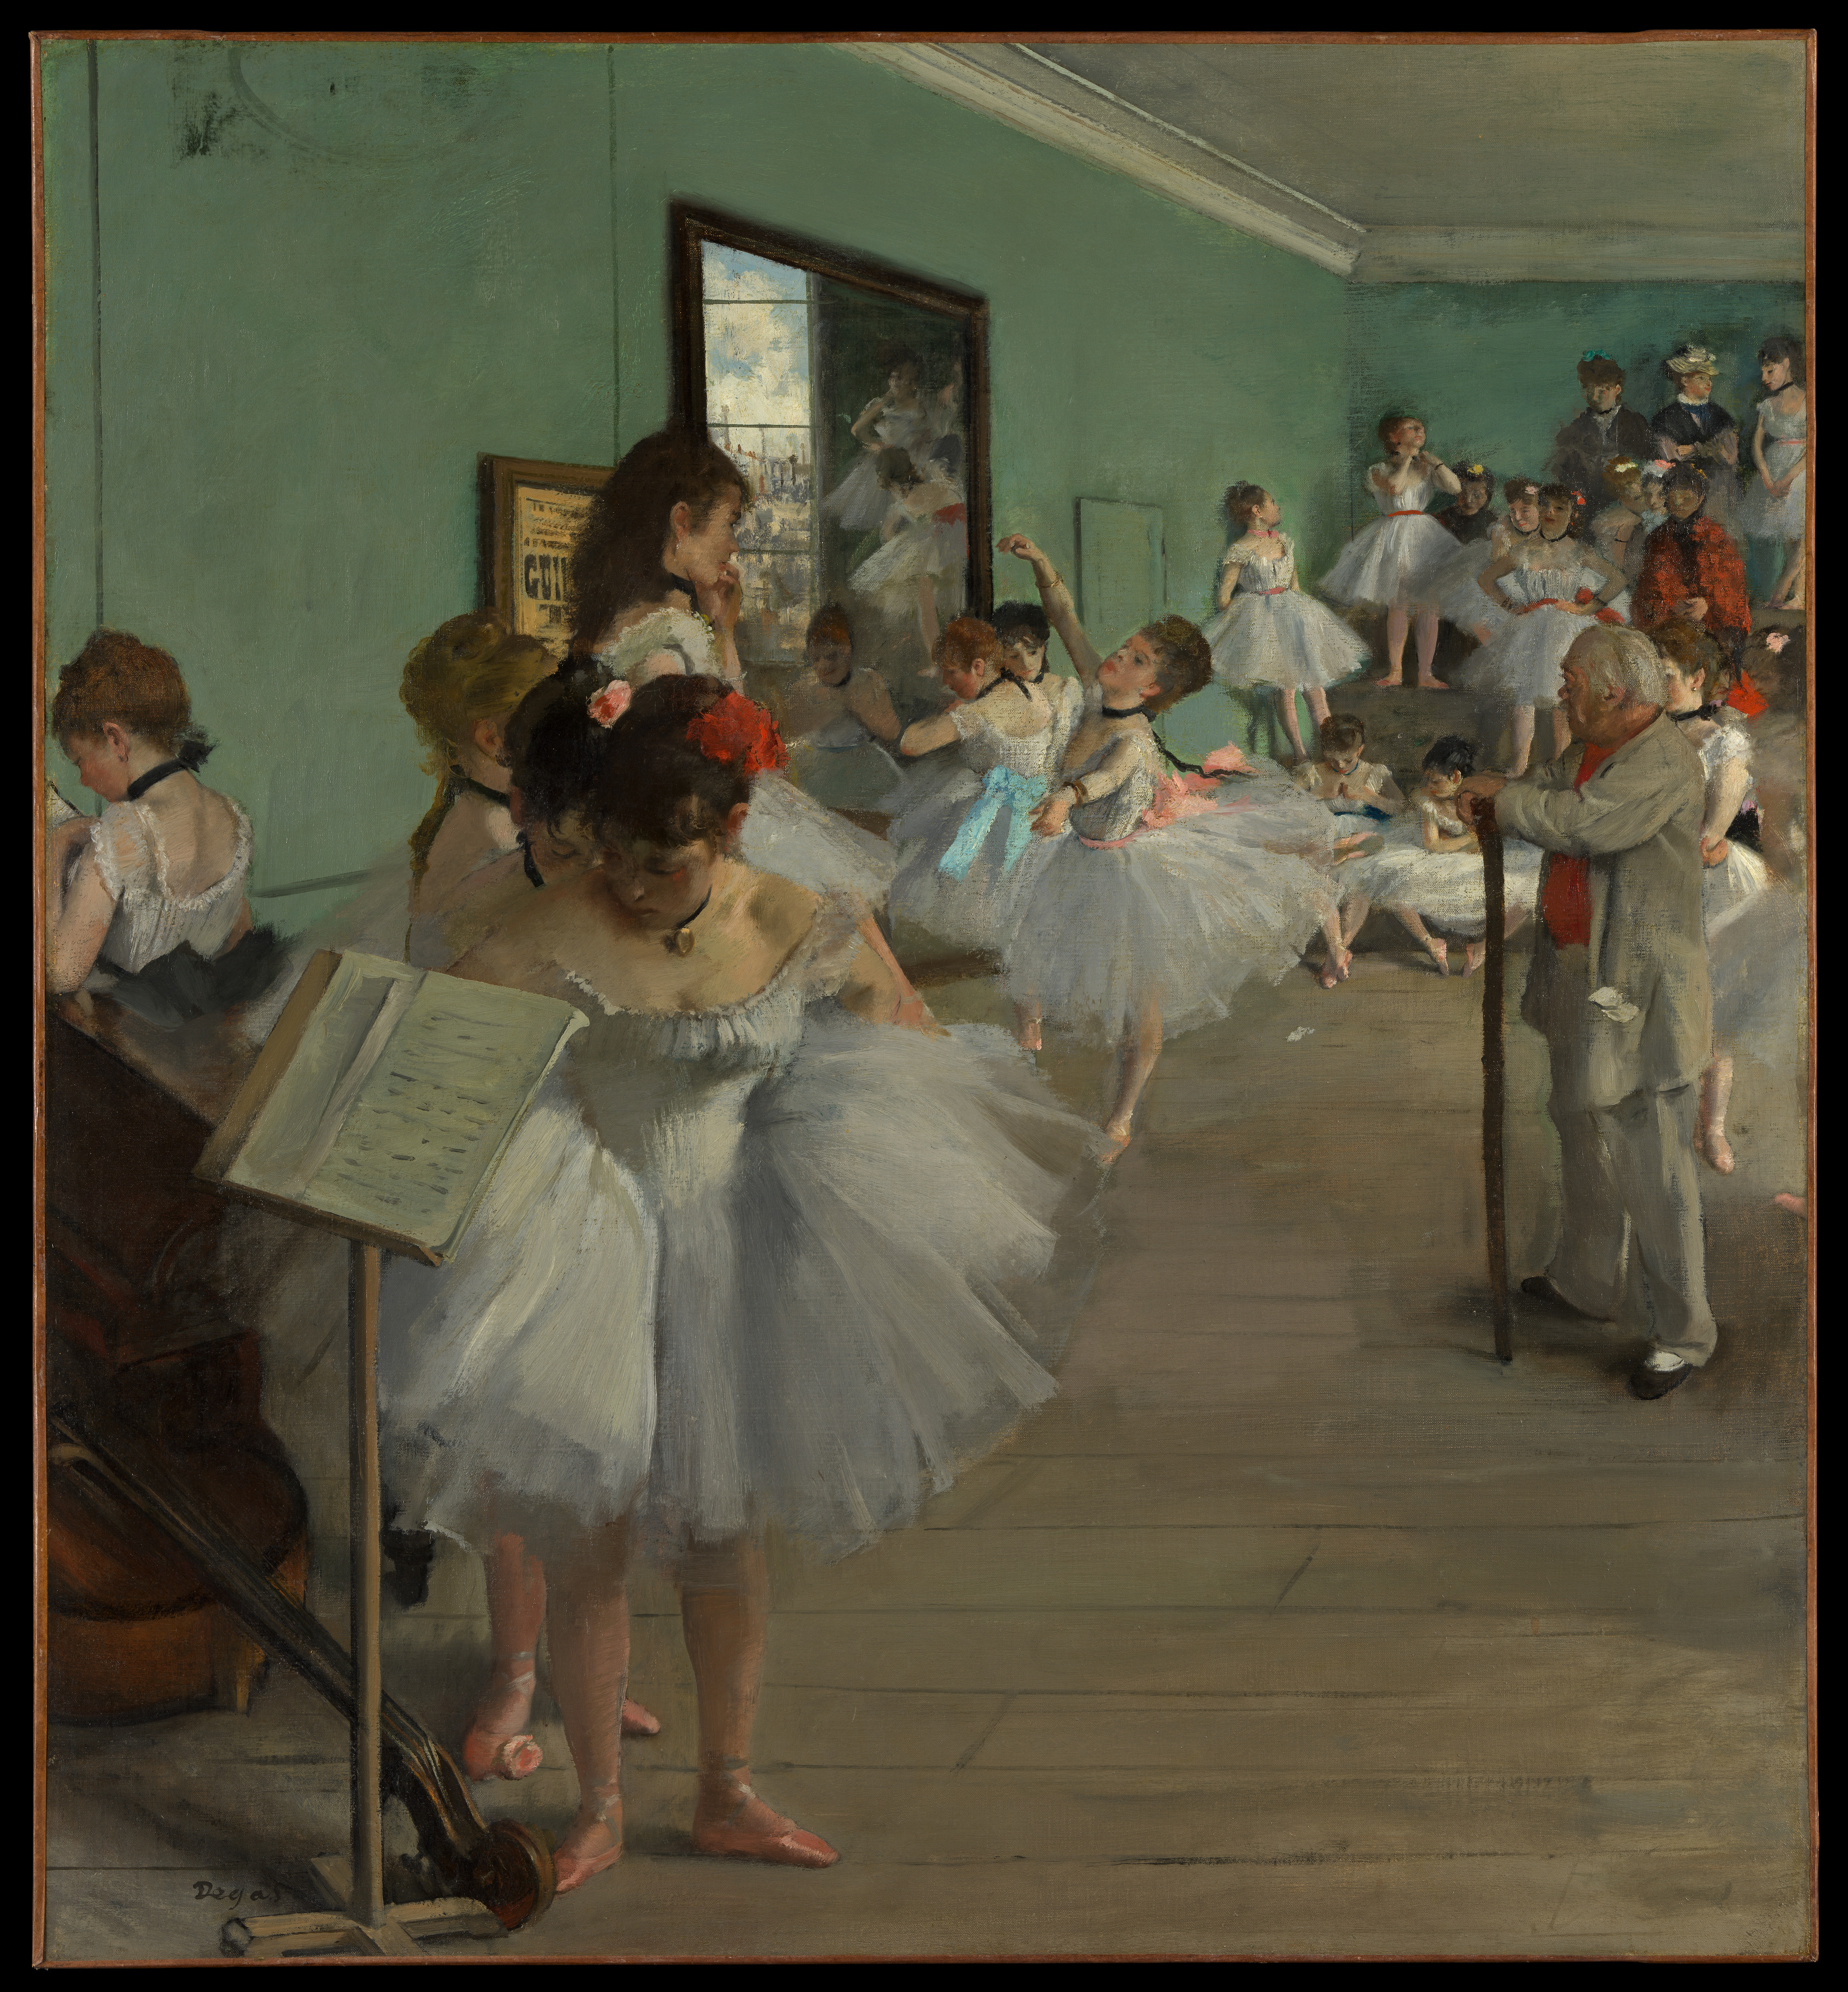
  • “The Dance Class”
    • Artist: Edgar Degas
    • Object Number: 1987.47.1
    • Source: The Metropolitan Museum of Art
    • Status: Public Domain
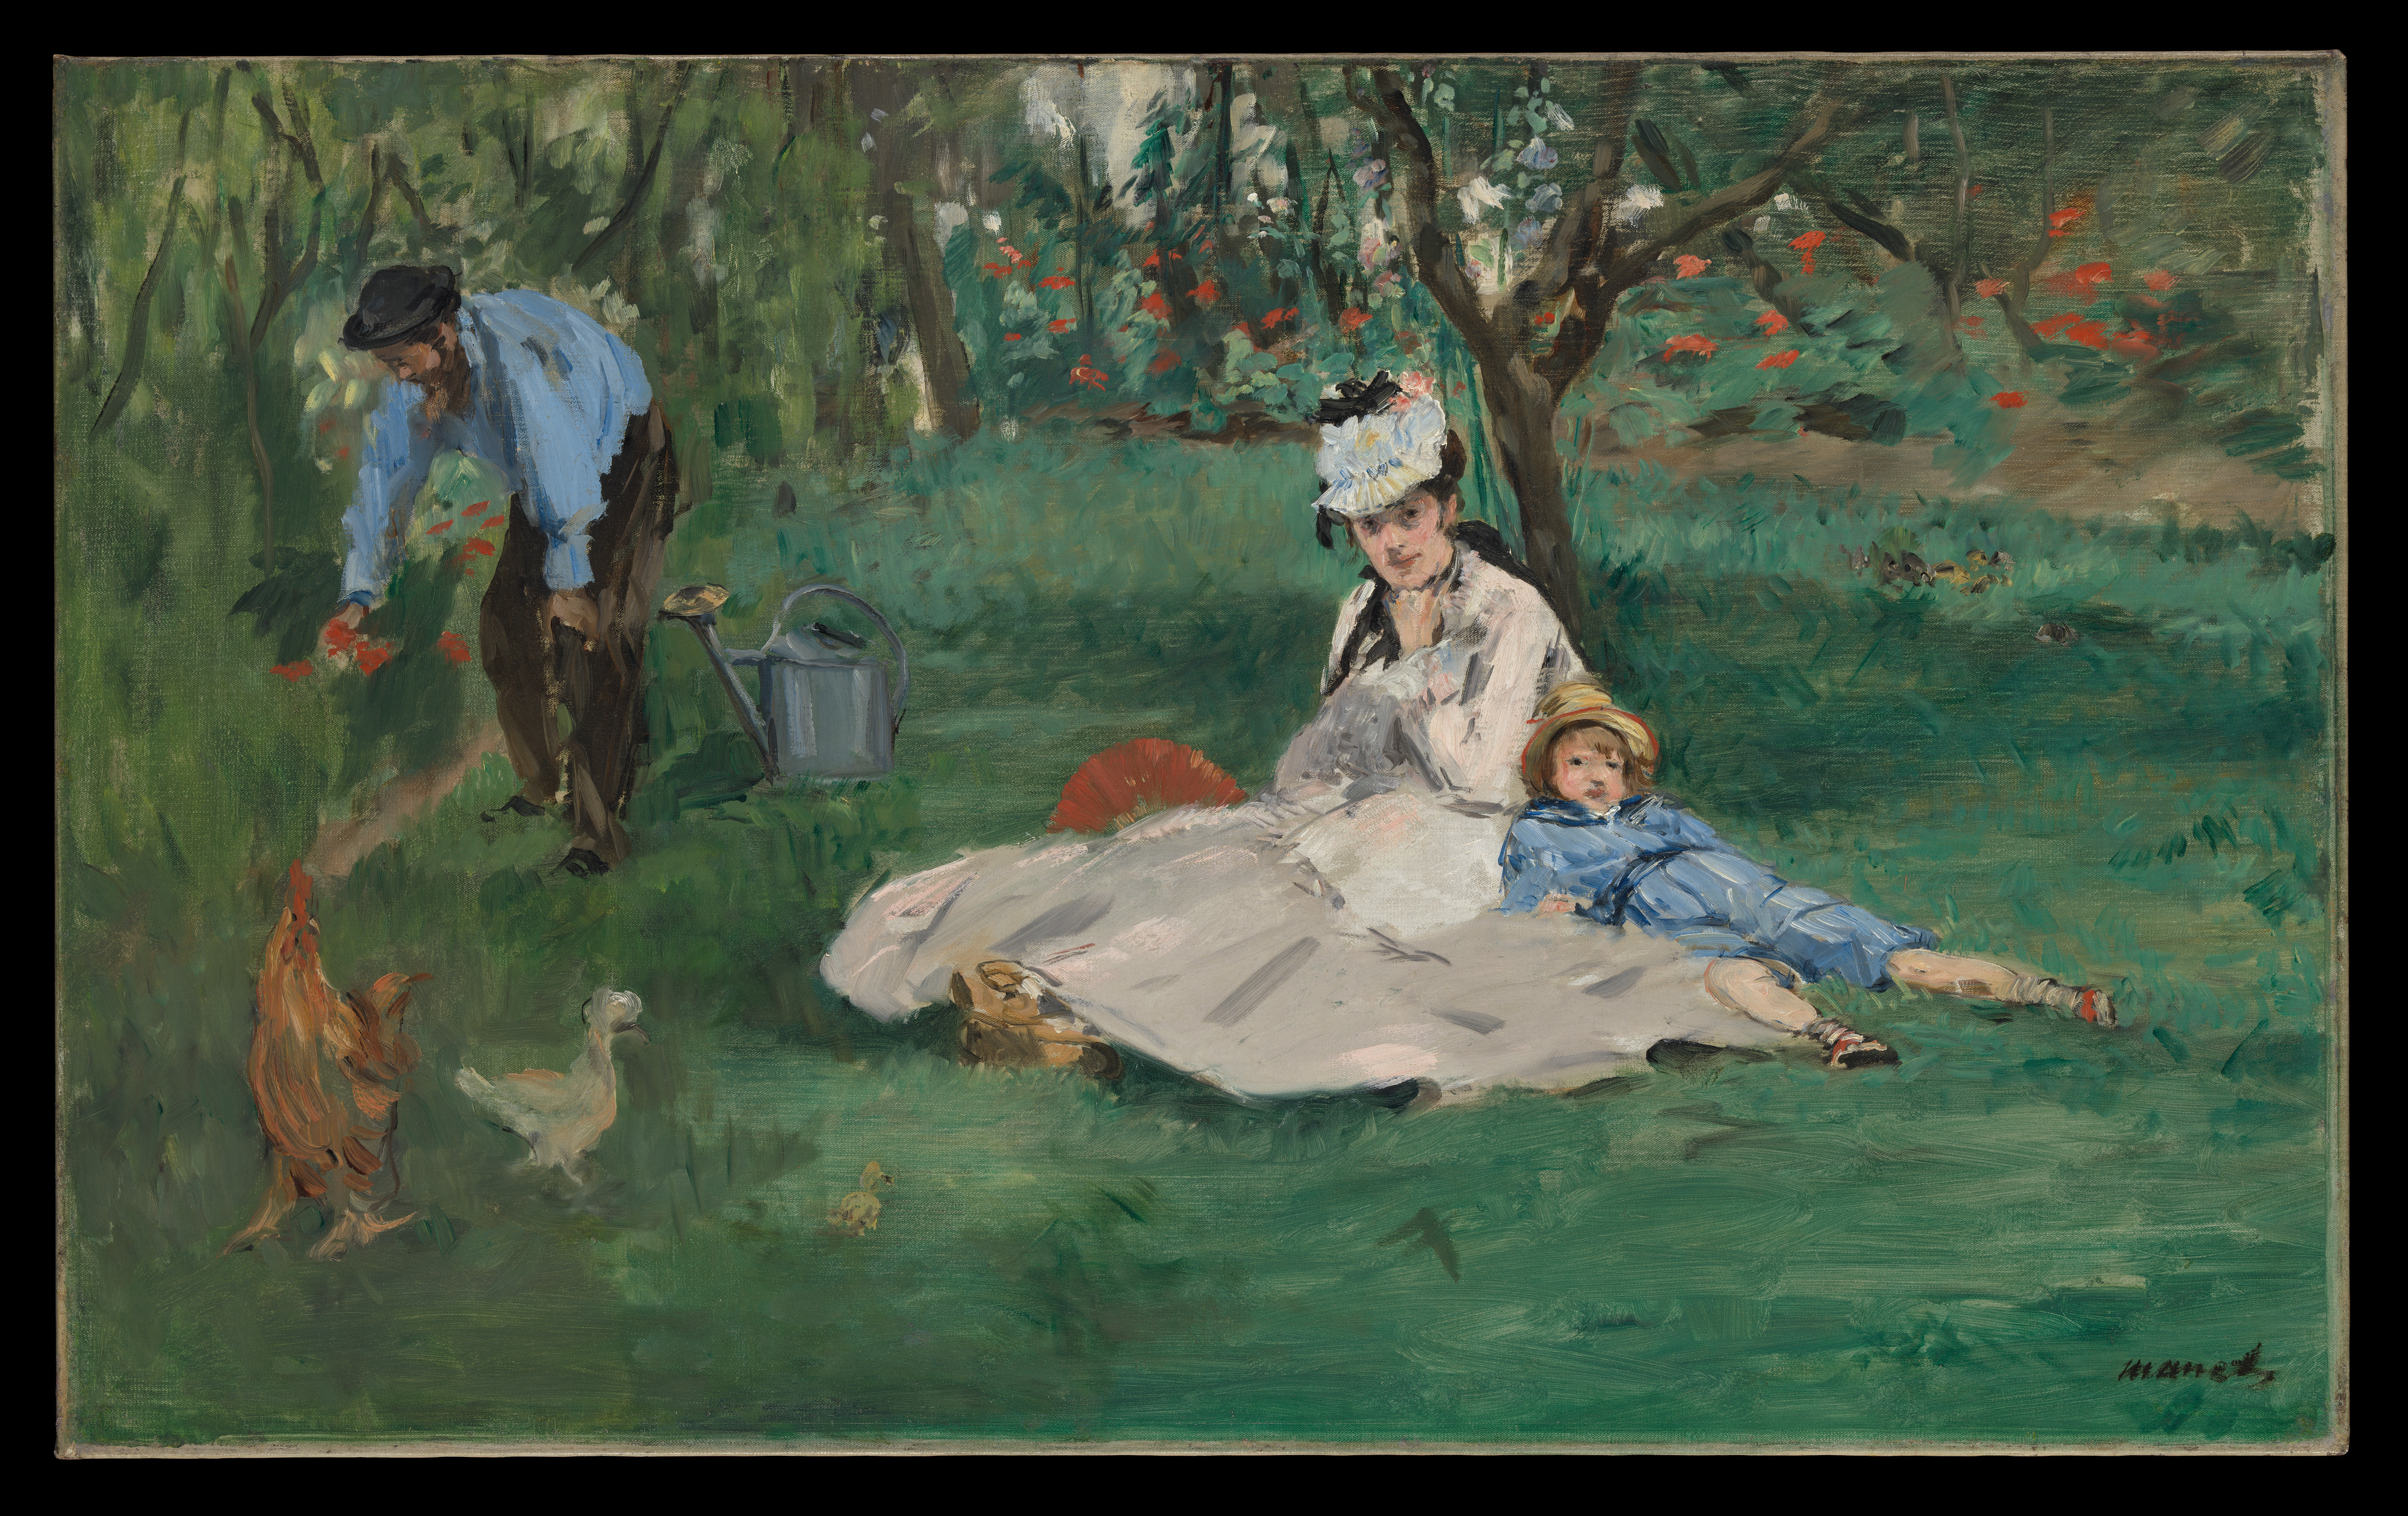
  • “The Monet Family in Their Garden at Argenteuil”
    • Artist: Edouard Manet
    • Object Number: 1976.201.14
    • Source: The Metropolitan Museum of Art
    • Status: Public Domain

Note: All artwork used as title images are selected from the public domain to ensure proper usage rights.